How To - Build a 4L80E Transmission Controller with an IO12 & Harness
Using an IO12 to control a 4L80E transmission is simple,
proven, and the harness is straightforward enough to build using an IO12 flying lead
harness.
You’ll need the following:
- IO12 Flying Lead Harness (HT-049902)
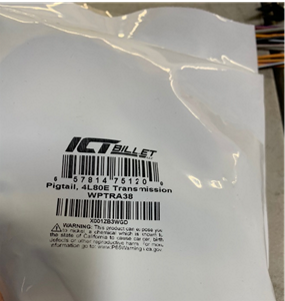
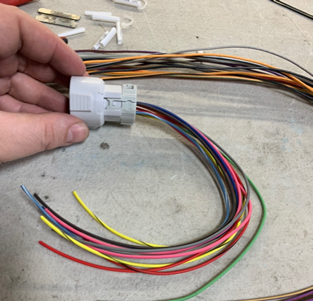
- 4L80E Connector Pigtail (From ICT Billet - WPTRA38)
- Pressure Sensors and Connectors
- DTM Deutsch Connectors (Optional)
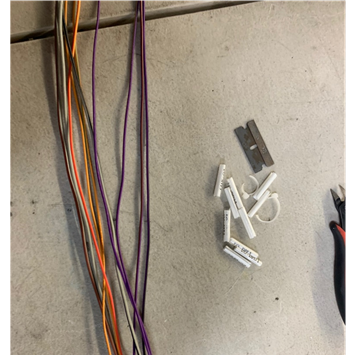
- Loom, Tape, Glue Shrink, Zipties (HT-039300)
Sig GND, Batt GND, 12V Batt, 12V Switched, DPI4 Bundle
(Sig GND & 12V) AVI4 Bundle (Sig GND & 5V)
The Battery, Grounds, and Switched power will be connected
per the IO12 Directions.
DPI4 and AVI4 will not be used in controlling the 4L80E and
can be used as additional/spare inputs for other functions. It is recommended to Install a DTM3
connector on DPI4, and a DTM3 or Pressure Sensor connector on AVI4. Or at a minimum, Shrink up the 12V and 5V wires to prevent shorting out.
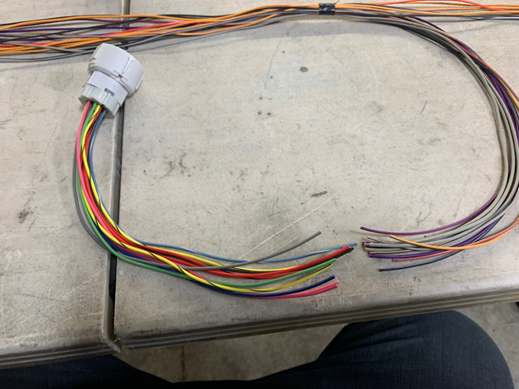
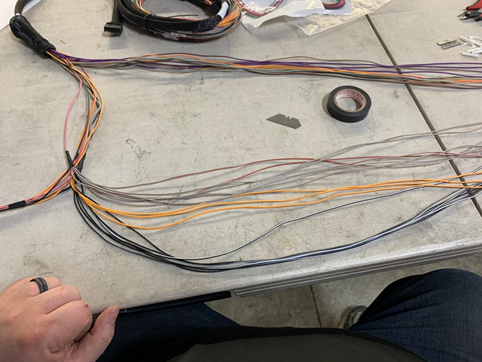
Remove the Labels from all 4 DPO bundles, AVI1, and DPI 1-3.
Leave AVI2 and AVI3 bundled with their respective 5V and
Sig GND. These will be terminated but won’t connect to the OEM 4L80E connector.
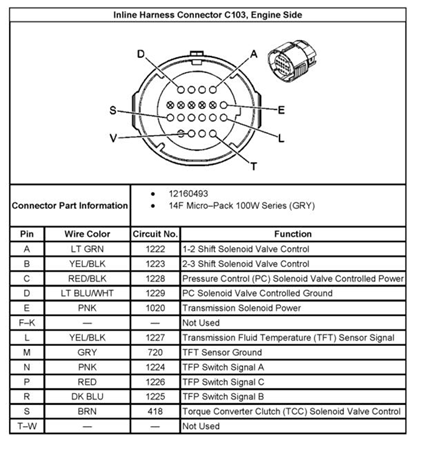
The 4L80E Main Connector has the Shift Solenoids Control,
Temp Sensor, TFP Pressure switch connections. It has 11 pins that need to be
connected to the IO12 harness.
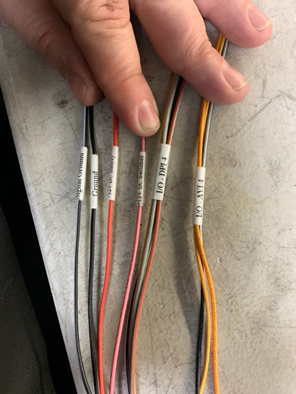
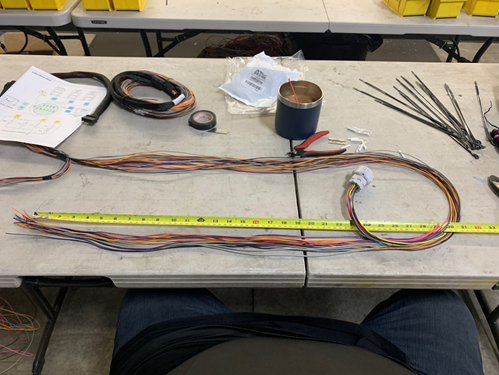
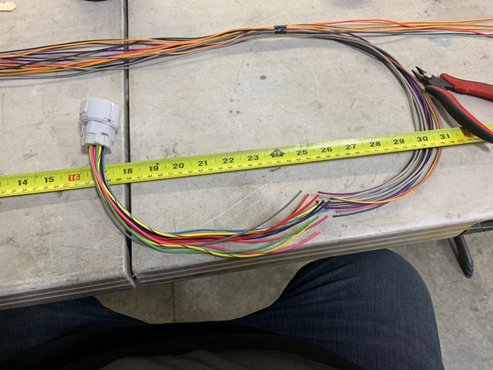
Separate out the necessary IO12 harness wires that will be
connecting to the 4L80 main connector, from which you removed the labels, and
measure from the end of those wires and shorten those by 24”.
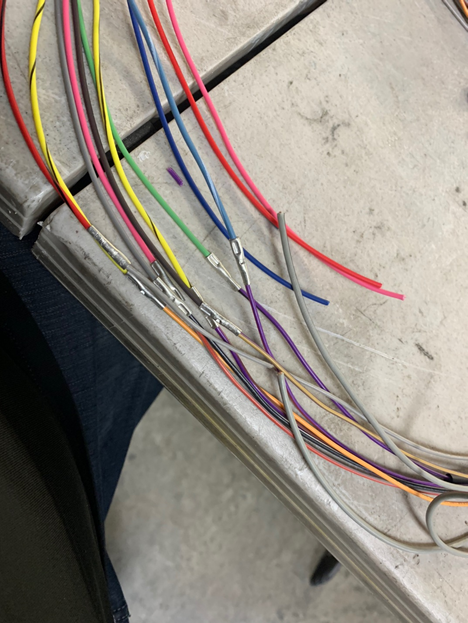
Next, make your connections between the IO harness and the
4L80E pigtail harness, according to the chart above.
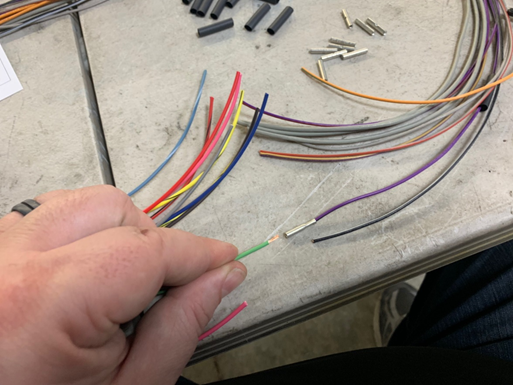
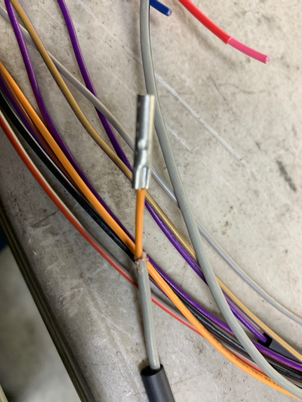
The DPI Wires are shielded with a grounded shielding wire.
Be sure to separate that shield wire and make the connection to the inner signal
wire ONLY.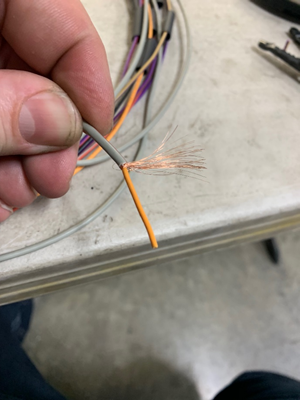

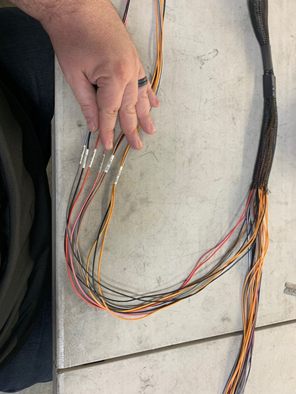
Now Put pressure sensor connectors on AVI2 and AVI3. These will be used for Line/Case pressure and converter/charge pressure.
The AVI2 & AVI3 harnesses should separate from the main Loom about 24” back from the main connector. These should be separated from each other so they can connect to the pressure sensors.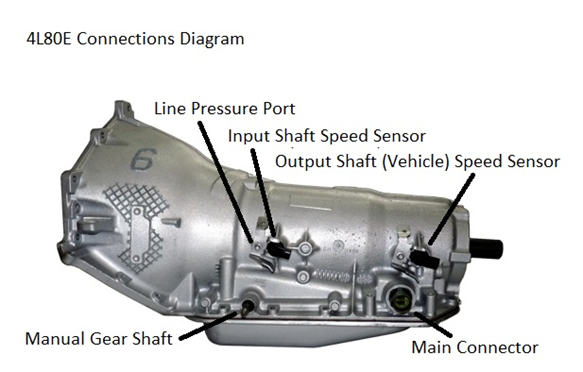
There will be a number of
extra Sig Gnd wires, 5v and 12V power wires that were not used. Cut those off
and tape or shrink up the connections. Make sure none of the cut wires can
ground out.
- IO12 Flying Lead Harness (HT-049902)
- 4L80E Connector Pigtail (From ICT Billet - WPTRA38)
- Pressure Sensors and Connectors
- DTM Deutsch Connectors (Optional)
- Loom, Tape, Glue Shrink, Zipties (HT-039300)
- Crimp Connectors or Solder/Iron
- Crimpers- Strippers
- Heat Gun
- Scissors/Knife
Start by prepping the IO12 harness. Separate the following
wires from the main bulk of the wiring:
| FUNCTION | PIN | OEM COLOR | HALTECH IO12 | HALTECH COLOR |
| Sol A | A | Lt Grn | DPO1 | Purple/Black |
| Sol B | B | Yel/Blk | DPO2 | Purple/Bown |
| Line Press Sol Power | C | Red/Blk | 12v | Grey/Red |
| Line Press Sol Ground | D | Lt Blu/Wht | DPO3 | Purple/Red |
| 12V Solenoids Power | E | Pnk | 12v | Grey/Red |
| Temp Signal | L | Yel/Blk | AVI1 | Orange/Green |
| Temp Sensor Ground | M | Gry | Signal Ground | Black/White |
| TFP Switch N | N | Pnk | DPI1 | Grey (Shielded) |
| Switch P | P | Red/Blk | DPI2 | Grey/Black (Shielded) |
| Switch R | R | Dk Blu | DPI3 | Grey/Brown (Shielded) |
| Lockup Solenoid | S | Brn |
DPO4 |
Purple/Orange |
Now Put pressure sensor connectors on AVI2 and AVI3. These will be used for Line/Case pressure and converter/charge pressure.
The AVI2 & AVI3 harnesses should separate from the main Loom about 24” back from the main connector. These should be separated from each other so they can connect to the pressure sensors.
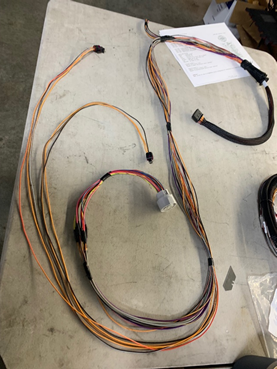
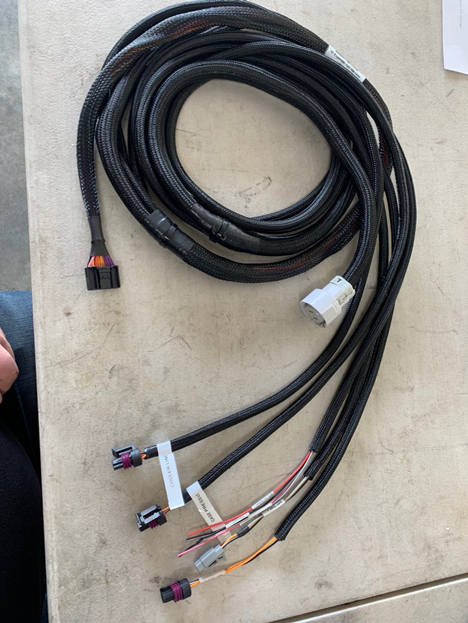
Finally, Loom and tape the harness and make it look nice.
Related Articles
Transmission Control
Transmission Control The Transmission Control function is able to control multiple styles of transmission. Some conventional automatic transmissions such as the Toyota A340e, pneumatically actuated sequential transmissions, as well as pneumatically ...Transmission Control Wiring
Wiring Options Number of Outputs - This setting is only required for some Transmission Types. It is greyed out when the ECU can determine the number of outputs from the Transmission Type and/or the Number of Gears (e.g. GM 4L60 uses 2 gear select ...Nexus Ti6L - Transmission Interface Kit, suits GM 6L Series
Nexus Ti6L - Transmission Interface Kit, suits GM 6L Series Technical note regarding early access to this product: While all reasonable care has been taken to support all TCM operating systems known to Haltech, there may be OS versions that are not ...CAN Wideband Controller (WB1 and WB2) (Bosch LSU 4.9 Lambda Sensors)
The Haltech CAN Wideband Controller is a plug and play product which increases the functionality of the Haltech ECU by using the Haltech CAN system which is available to all Elite and Platinum Series ECU's. It allows the user to accurately measure ...Auto Mode Shift Points
Auto Mode Shift Point Table This is not available if Auto Shift Option is set to Auto Disabled. This is a special table which behaves differently to normal tables and uses special values in the left axis of the table. The left axis of the table is ...